galileo telescope instructions
The Galileo Telescope, inspired by Galileo’s designs, offers precise optics for astronomical and terrestrial viewing. Proper assembly ensures optimal performance; follow setup instructions carefully for the best experience.
Historical Significance and Modern Relevance
The Galileo Telescope is rooted in the pioneering work of Galileo Galilei, who revolutionized astronomy by observing celestial bodies like the Moon and Jupiter. His designs laid the foundation for modern telescopes. Today, the Galileo Telescope remains a popular choice for amateur astronomers, offering an affordable and portable way to explore the universe. Its compact refractor design makes it ideal for backyard stargazing or educational purposes, bridging the gap between historical innovation and contemporary astronomical exploration.
Importance of Proper Assembly and Usage
Proper assembly and usage of the Galileo Telescope are crucial for optimal performance. Improper setup can lead to poor image quality or even damage to the instrument. Begin by carefully unboxing and inspecting all components to ensure nothing is damaged. Follow the step-by-step instructions for attaching the tripod, optical tube, and finder scope. Loosen screws on the Mars-Eye electronic finder and slide it onto the bracket before tightening. Always use the telescope for terrestrial viewing first to familiarize yourself with its power and handling before attempting astronomical observations.
Components of the Galileo Telescope
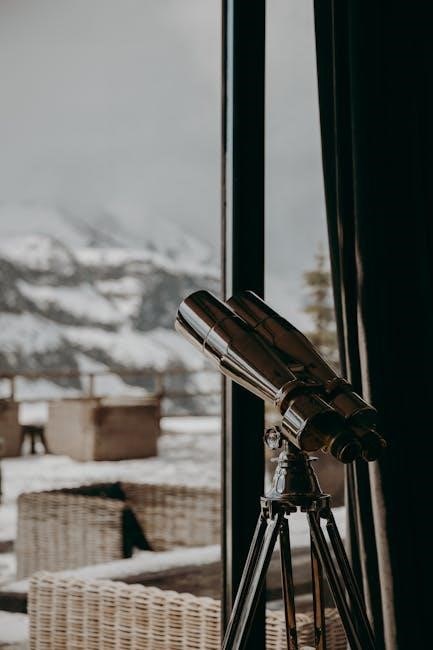
The Galileo Telescope includes an optical tube, tripod, finder scope, eyepieces, and a Barlow lens. Additional accessories like the Mars-Eye electronic finder enhance functionality and versatility.
Overview of Key Parts and Accessories
The Galileo Telescope features essential components like the optical tube, tripod, and eyepieces, designed for precise observation. The Mars-Eye electronic finder and Barlow lens enhance viewing capabilities. Additional accessories, including lens caps and adjustment knobs, ensure optimal performance. Properly assembling and maintaining these parts is crucial for clear and accurate observations, whether for astronomical or terrestrial use. Each component plays a vital role in delivering a satisfying stargazing experience, making the Galileo Telescope a versatile tool for both beginners and enthusiasts.
Understanding the Optical Tube, Tripod, and Eyepieces
The optical tube is the core of the Galileo Telescope, housing the lenses that capture and magnify images. The tripod provides stability, ensuring steady observations. Eyepieces vary in magnification, offering different views of objects. Proper alignment and care for these parts are essential for sharp, clear images. The optical tube’s design allows for precise focus, while the tripod’s adjustable height accommodates observers of all ages. Eyepieces are interchangeable, enabling users to explore celestial objects in greater detail, making the telescope versatile for both terrestrial and astronomical use.

Setting Up the Galileo Telescope
Unbox and organize all parts. Attach the tripod and optical tube securely. Align the finder scope for accuracy. Follow instructions carefully to ensure proper setup and optimal viewing.
Unboxing and Initial Inspection
Begin by carefully unboxing the Galileo Telescope and inspecting all components. Ensure no parts are damaged or missing. Remove protective caps from the optical tube and eyepieces. Lay out the tripod, mount, and accessories on a clean surface. Familiarize yourself with each part, such as the Mars-Eye finder, eyepieces, and Barlow lens. Check for completeness and refer to the instruction manual to confirm all items are included. This step ensures a smooth assembly process and proper functionality of the telescope.
Assembling the Telescope: A Step-by-Step Guide
Start by loosening the screws on the Mars-Eye electronic finder and sliding it onto the bracket. Tighten the attachment screws securely. Next, attach the vertical and horizontal adjustments to the tracker mount. Remove the protective caps from the optical tube and eyepieces. Attach the tripod to the telescope using the provided hardware, ensuring stability; Finally, assemble the Barlow lens and eyepieces according to the configuration desired. Double-check all connections for tightness and proper alignment before use.
Attaching the Tripod and Optical Tube
Begin by attaching the tripod to the telescope using the provided hardware. Ensure the tripod is stable and level for optimal performance. Next, carefully align the optical tube with the mount and secure it using the retaining screws. Tighten firmly but avoid over-tightening, which may damage the components. Once attached, remove any protective caps from the optical tube and eyepieces. Double-check the alignment and stability before proceeding to ensure proper functionality and clear viewing.
Installing the Finder Scope and Aligning It
Attach the finder scope to the telescope by loosening the screws on the Mars-Eye Electronic Finder and sliding it onto the bracket. Tighten the attachment screws securely. Align the finder scope by adjusting its position to ensure it is parallel with the optical tube. Use the adjustment screws to fine-tune the alignment, ensuring the crosshairs in the finder scope match the view in the main telescope. Proper alignment allows for accurate targeting of celestial objects, enhancing your observing experience.
Using the Galileo Telescope
Begin by using the telescope for terrestrial viewing to familiarize yourself with its power. Progress to astronomical objects, ensuring proper setup for optimal performance and clarity.
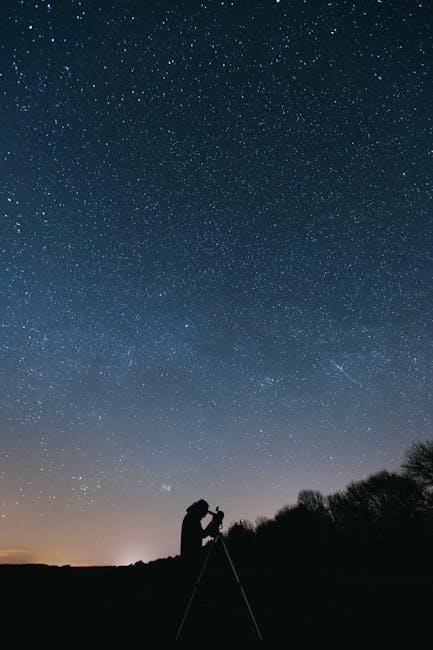
Choosing the Right Location for Observing
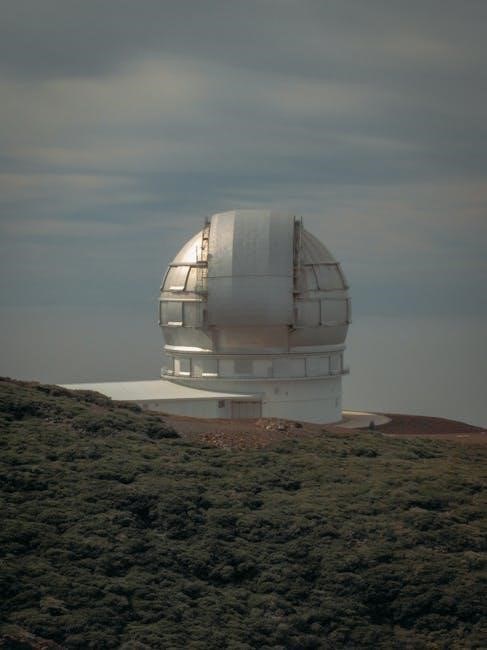
For optimal viewing, select a location with minimal light pollution and few obstructions. Ideal spots include backyards or open areas with a clear horizon. Avoid buildings and trees that could block your view. If possible, transport the telescope to darker locations for better astronomical observations. Ensure the area is level and stable to maintain tripod balance. Allow the telescope to acclimate to outdoor temperatures for clearer images. Using a red light source nearby can help preserve night vision while adjusting settings.
Using Eyepieces Effectively
The Galileo Telescope comes with interchangeable eyepieces to enhance viewing experiences. Start with the lowest magnification eyepiece for wider fields of view and clarity. For closer observations, switch to higher magnification eyepieces, ensuring the image remains sharp. The Barlow lens can double magnification when attached. Experiment with different combinations to find the best view for your target. Properly focusing the telescope is crucial for clear images. Practice using the eyepieces on terrestrial objects before transitioning to celestial observations to ensure a smooth learning curve.
Focusing and Adjusting the Telescope
Focusing the Galileo Telescope requires precise adjustments to achieve sharp images. Start by loosening the Mars-Eye electronic finder’s screws and sliding it onto the bracket, then tighten the attachment screws. Use the coarse adjustment knob to bring the object into rough focus, then fine-tune with the fine adjustment knob. Ensure the finder scope is properly aligned with the optical tube for accurate targeting. For optimal clarity, begin with low magnification and gradually increase as needed. Always replace protective caps when the telescope is not in use to maintain optical quality.
Maintenance and Care
Regularly clean the optics with a soft cloth and avoid harsh chemicals. Store the telescope in a dry, cool place when not in use to prevent damage. Always replace protective caps to keep the optics clean and ensure optimal performance during observations;
Cleaning the Optics and Accessories
To maintain your Galileo telescope’s performance, clean the optics regularly. Use a soft, dry cloth to gently remove dust or smudges from the lenses and mirrors. Avoid harsh chemicals or abrasive materials that could scratch the surfaces. For stubborn spots, lightly dampen the cloth with distilled water, but ensure no moisture remains. Regularly inspect and clean all accessories, such as eyepieces and the finder scope, to prevent debris from affecting image clarity. Proper cleaning ensures sharp, clear views and prolongs the telescope’s lifespan. Always handle optics with care to avoid damage.
Storing the Telescope Properly
Proper storage is essential to maintain your Galileo telescope’s condition. Store it in a cool, dry place to prevent moisture damage. Use the original protective case or a sturdy box to safeguard the optics and accessories. Keep the lens caps on when not in use to protect from dust and scratches. Avoid extreme temperatures and humidity, which can harm the telescope’s components. Store the tripod separately in a secure location to prevent accidental damage. Regularly inspect stored items to ensure everything remains in good condition for future use.
Regular Checks for Optimal Performance
Regularly inspect the telescope’s optics for cleanliness and clarity. Check the tripod for stability and tighten any loose screws. Ensure eyepieces and lenses are free from dust or damage. Verify the finder scope alignment for accuracy. Lubricate moving parts to maintain smooth operation. Schedule periodic checks to ensure all components are secure and functioning properly. Address any issues promptly to prevent performance degradation. These routine checks will help maintain your Galileo telescope’s optimal performance and extend its lifespan for years of reliable use.
Advanced Techniques
Enhance your observing experience with a Barlow lens for higher magnification and explore astronomical software for better planning and alignment of celestial objects, maximizing your telescope’s capabilities.
Using the Barlow Lens for Higher Magnification
To achieve higher magnification with your Galileo telescope, attach the Barlow lens to the eyepiece. This accessory doubles the magnification power, enhancing detail visibility for celestial objects like planets and stars. Ensure the lens is securely fitted to maintain image clarity. For optimal results, use the Barlow lens with the auxiliary eyepiece for increased magnification up to 50x. Proper focusing is essential to avoid blurry images, so adjust carefully after attaching the lens. This technique is ideal for observing intricate lunar or planetary features, providing a more immersive stargazing experience.
Exploring Astronomical Objects and Events
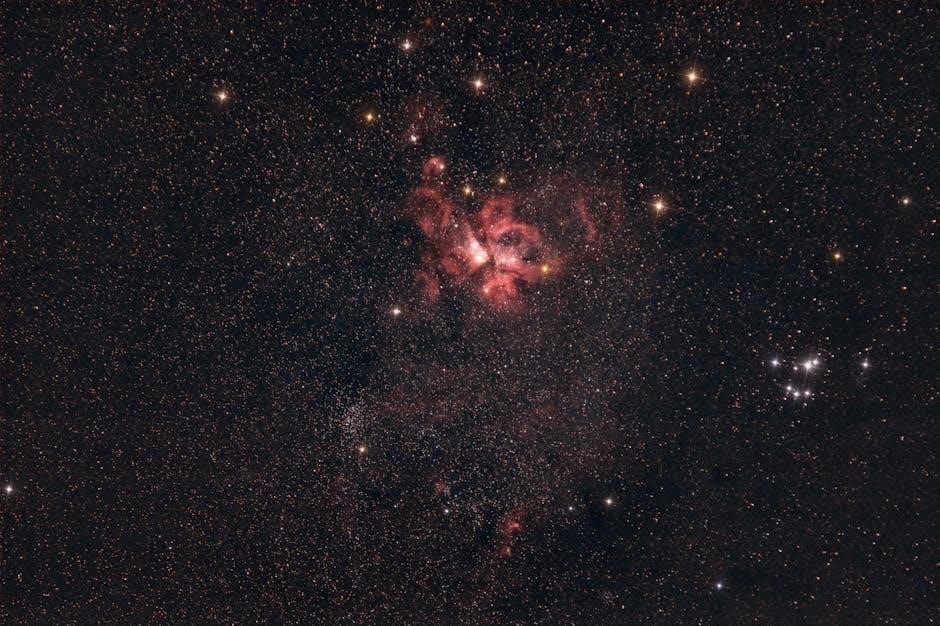
Begin by observing the Moon, noting its phases and surface details. Saturn’s rings and Jupiter’s moons are stunning targets for your Galileo telescope. Use star charts to locate constellations and planets, ensuring proper alignment with the finder scope. For celestial events like meteor showers or eclipses, position your telescope in a dark, stable location. Experiment with eyepieces to find the best magnification for clear views. Regular practice enhances your ability to track and identify astronomical wonders, making each stargazing session a rewarding experience.
Integrating with Astronomy Software
Enhance your stargazing experience by integrating your Galileo telescope with astronomy software. Programs like Stellarium or SkySafari provide real-time star charts, helping you locate celestial objects effortlessly. Use software to align your telescope’s coordinates for precise targeting. Some applications allow remote control, enabling you to adjust settings digitally. Ensure compatibility with your telescope model for optimal performance. This integration transforms your observations, offering deeper insights into astronomical events and simplifying the pursuit of cosmic wonders.
Troubleshooting Common Issues
Address blurry images by checking eyepiece alignment and focus. Ensure the finder scope is properly aligned with the optical tube for accurate targeting. Regularly clean optics for clarity.
Aligning the Finder Scope
To align the finder scope, start by loosening the attachment screws and sliding the Mars-Eye electronic finder onto the bracket. Tighten the screws securely once positioned. Ensure the finder scope is properly aligned with the optical tube for accurate targeting.
During alignment, adjust the finder scope to match the telescope’s field of view. Use a distant object to test alignment accuracy. If issues arise, check the optical tube’s alignment and ensure the finder scope is securely attached. Proper alignment ensures precise targeting of celestial objects, enhancing your observing experience.
Dealing with Image Clarity and Focus Problems
If images appear blurry or distorted, ensure the telescope is properly assembled and the optical tube is aligned. Check that all screws are tightened and the finder scope is correctly aligned with the optical tube. Adjust focus slowly and ensure the eyepiece is securely attached. For clarity, start with lower magnification and gradually increase. Environmental factors like temperature changes or instability can affect focus. Regularly clean optics and store the telescope properly to maintain performance. Proper assembly and usage are key to resolving focus issues effectively.