town of babylon recreation guide 2024
Welcome to the Town of Babylon Recreation Guide 2024! Discover exciting programs, events, and facilities designed for all ages and interests․ Explore concerts, sports, and outdoor adventures while connecting with your community․ This guide is your key to unlocking a fun-filled year in Babylon!
Overview of the Guide
The 2024 Town of Babylon Recreation Guide offers a comprehensive overview of recreational opportunities, events, and facilities available to residents and visitors․ It features detailed listings of parks, beaches, sports facilities, and cultural venues, ensuring there’s something for everyone․ The guide also includes information on registration processes, permits, and seasonal highlights, making it an essential resource for planning activities year-round․ Whether you’re interested in outdoor adventures, fitness programs, or family-friendly events, this guide provides all the details needed to make the most of your time in Babylon․
Key Features and Highlights for 2024
The 2024 guide showcases an array of exciting features, including expanded summer camp options, new swim lesson schedules, and enhanced outdoor concert series․ Highlights include improved beach access permits, upgraded sports facilities, and the introduction of health and wellness workshops․ Seasonal celebrations, such as festivals and cultural events, are also prominently featured․ With a focus on community engagement, the guide emphasizes volunteer opportunities and local partnerships․ New this year are enhanced amenities at parks and waterfront areas, ensuring a more enjoyable experience for residents and visitors alike․ Explore all that Babylon has to offer in 2024!
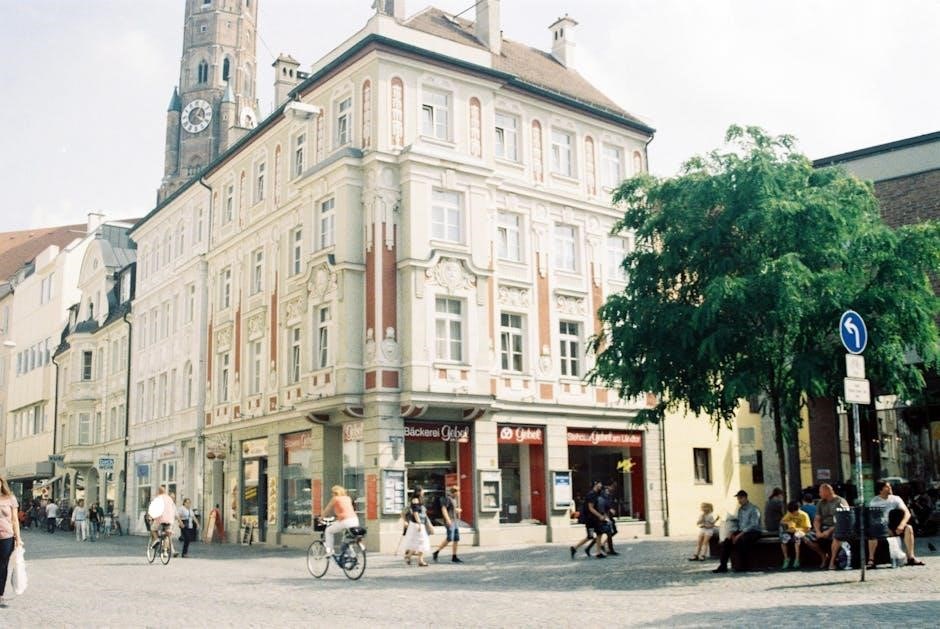
Parks and Facilities in Babylon
Babylon boasts beautiful parks and modern facilities, offering playgrounds, picnic areas, and sports fields․ These spaces cater to diverse outdoor activities, ensuring fun for all ages and interests․
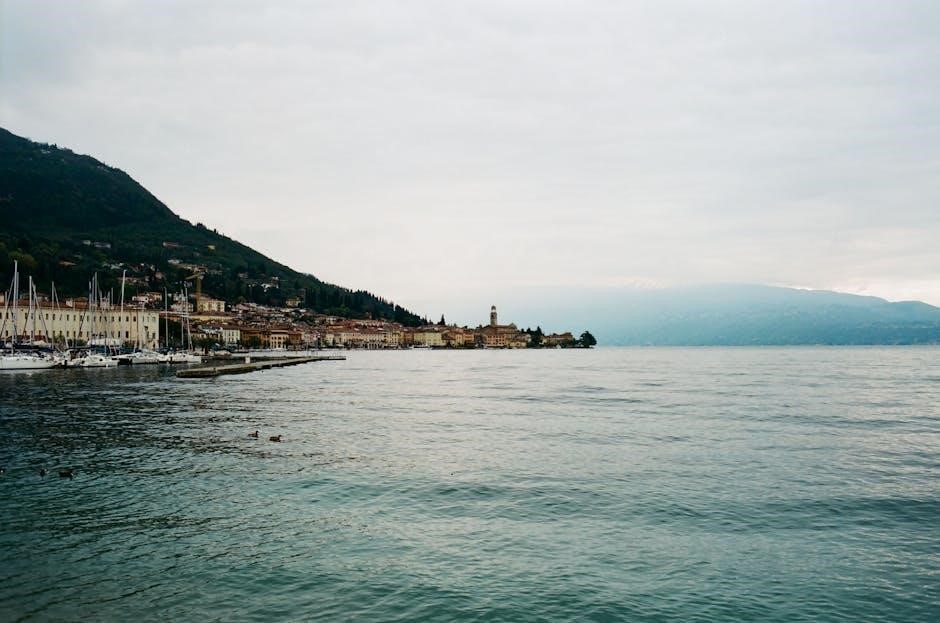
Beaches and Waterfront Areas
Babylon’s stunning beaches and waterfront areas offer a perfect escape for relaxation and recreation․ Enjoy swimming, picnicking, and soaking up the sun on pristine shores․ The Town of Babylon Recreation Guide provides details on beach permits, access points, and seasonal events․ Explore scenic waterfront parks with walking trails and breathtaking views․ These areas are ideal for family outings, kayaking, or simply unwinding by the water․ Make sure to check the guide for up-to-date information on beach access and special events to maximize your waterfront experience in Babylon!
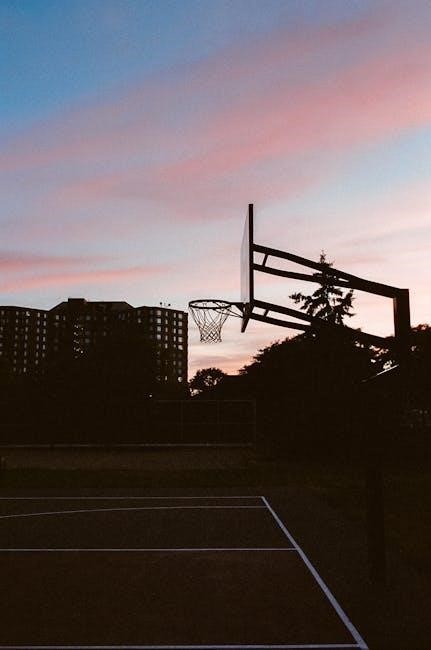
Sports Facilities and Recreational Spaces
Babylon boasts an array of top-notch sports facilities and recreational spaces catering to diverse interests․ From state-of-the-art athletic fields to well-equipped courts and playgrounds, there’s something for everyone․ The Recreation Guide highlights amenities like soccer fields, basketball courts, and baseball diamonds․ Additionally, community centers offer fitness classes, workshops, and social activities․ These spaces foster active lifestyles, teambuilding, and community connections․ Check the guide for facility locations, usage guidelines, and availability to make the most of Babylon’s offerings for sports enthusiasts and families alike․

Recreation Programs for All Ages
Explore diverse programs tailored for every age and interest! From art classes to fitness sessions and STEM workshops, Babylon offers engaging activities fostering creativity, health, and community bonds․ Join us for a year of growth and fun!
Swim Lessons and Water Activities
The Town of Babylon offers a variety of swim lessons and water activities for all skill levels and ages․ Our morning Learn-to-Swim Program, designed for children ages 3 through 15, provides structured lessons Monday through Friday for three weeks․ Experienced instructors focus on building confidence and skills in a safe environment․ Adults can also participate in lap swimming or water aerobics for fitness․ Additionally, family fun days and water games are available, making our aquatic programs a great way to stay active and enjoy the water year-round․ Dive into the fun with Babylon’s aquatic offerings!
Summer Camps and Youth Programs
The Town of Babylon offers engaging summer camps and youth programs designed for children and teens․ These camps provide a safe and fun environment where kids can explore interests in sports, arts, and outdoor activities․ Experienced staff lead interactive workshops, games, and field trips, fostering teamwork and creativity․ From STEM workshops to nature explorations, there’s something for every child․ Programs emphasize skill-building, social interaction, and personal growth․ Parents can trust Babylon’s summer camps to deliver memorable experiences while keeping kids active and entertained throughout the season․ Register early to secure a spot for your child!
Cultural and Community Events
Experience Babylon’s vibrant cultural scene with diverse events celebrating art, music, and heritage․ Engage in inclusive activities fostering community connections and showcasing local talent throughout the year․
Concerts and Outdoor Performances
Enjoy a summer of music and entertainment with Babylon’s outdoor concerts and performances․ From live bands to cultural shows, these events bring the community together in scenic parks and waterfronts․ Families can groove to diverse genres, while kids enjoy interactive performances․ Evening concerts under the stars offer a magical setting for all ages․ Check the 2024 guide for schedules and venues, ensuring you don’t miss these unforgettable experiences that celebrate local talent and foster community spirit․
Festivals and Seasonal Celebrations
Experience the vibrant spirit of Babylon through its annual festivals and seasonal celebrations! The 2024 Recreation Guide highlights events like summer fairs, cultural festivals, and holiday parades․ Enjoy live music, delicious food, and activities for all ages․ Don’t miss the iconic SummerFest celebration, featuring fireworks, games, and community booths․ Seasonal events, such as pumpkin patches in fall and winter light displays, offer festive fun․ These gatherings foster community connections and create lasting memories․ Mark your calendar for a year filled with joy, tradition, and celebration in Babylon!
Outdoor Activities and Sports
Explore Babylon’s diverse outdoor offerings, including hiking trails, sports leagues, and family-friendly waterfront activities․ Perfect for nature lovers and sports enthusiasts, promoting health and community bonding․
Hiking and Nature Trails
The Town of Babylon offers scenic hiking and nature trails perfect for outdoor enthusiasts․ Explore the Babylon Walking Trail, featuring diverse landscapes and wildlife․ The South Shore Nature Trails provide serene boardwalks and scenic overlooks, ideal for family-friendly adventures․ These trails are well-maintained and accessible, offering a peaceful escape from urban life․ Along the way, enjoy educational signage about local flora and fauna, making it a great opportunity to connect with nature and learn about the area’s ecosystems․ Whether you’re a casual walker or an avid hiker, Babylon’s trails promise unforgettable experiences․
Sports Leagues and Tournaments
The Town of Babylon Recreation Guide 2024 features a variety of sports leagues and tournaments for residents of all ages․ From baseball and soccer to basketball and volleyball, there’s something for every athlete․ These programs foster teamwork, skill development, and healthy competition․ Leagues are organized by age and skill level, ensuring an inclusive environment for participants․ Tournaments are held throughout the year, offering thrilling matchups and opportunities to showcase talent․ Registration details and schedules are available in the guide, making it easy to join in on the action and become part of Babylon’s vibrant sports community․
Registration and Permits
Register for programs and obtain permits through the Town of Babylon’s Recreation Department․ Online registration is available for convenience, while beach permits ensure access to waterfront areas․ Timely submission of applications and required fees is essential to secure participation and avoid delays․
How to Register for Programs
Registering for programs in Babylon is straightforward! Visit the Recreation Department’s website to access the online registration portal․ Create an account or log in if you already have one․ Browse available programs by type, age group, or location using the activity search filters․ Select your desired program and follow the prompts to complete enrollment․ Payment can be made securely online with a credit card․ Be sure to review and submit all required documents, such as medical forms or waivers, before the registration deadline․ For assistance, contact the Recreation Department directly․
Beach Permits and Access Information
Access Babylon’s beautiful beaches with ease by obtaining a beach permit for 2024․ Permits are required for parking at designated beach areas and can be purchased online or in-person at the Recreation Department․ Fees vary based on residency and duration of access․ Non-residents are welcome with daily or seasonal passes․ Ensure you have a valid permit displayed to avoid parking violations․ Permits grant access to amenities like restrooms, showers, and picnic areas․ Check the Recreation Guide for specific beach rules and restrictions to ensure a safe and enjoyable experience for all visitors throughout the season․
Special Events and Workshops
Explore a variety of special events and workshops in Babylon! Discover health and wellness sessions, creative arts, and family-friendly activities․ Experts lead engaging, educational experiences․ Check the guide for dates and details to participate!
Health and Wellness Workshops
The Town of Babylon offers a range of health and wellness workshops designed to promote physical and mental well-being; From yoga and meditation sessions to nutrition seminars, these programs cater to all ages and fitness levels․ Expert instructors provide guidance on maintaining a balanced lifestyle, while interactive sessions encourage community engagement․ Topics include stress management, fitness for seniors, and mindfulness practices․ These workshops aim to foster a healthier, happier community․ Check the guide for schedules and details to join these enriching experiences!
Family-Friendly Activities
The Town of Babylon Recreation Guide 2024 features a variety of family-friendly activities designed to bring joy and connection to all ages․ From seasonal festivals and outdoor movie nights to interactive workshops and educational programs, there’s something for everyone․ Families can enjoy hands-on crafts, storytelling sessions, and outdoor adventures that encourage learning and creativity․ These activities foster a sense of community and provide opportunities to create lasting memories․ Check the guide for a full list of events and programs tailored to families, ensuring fun and engagement for children and adults alike․
Community Engagement
Community engagement is vital in Babylon, fostering connections and inclusivity through local events, collaborations, and initiatives․ Residents are encouraged to participate and contribute to building a vibrant community․
Volunteer Opportunities
The Town of Babylon offers various volunteer opportunities, allowing residents to contribute to community events and programs․ Whether assisting at local festivals, mentoring youth, or supporting environmental initiatives, volunteers play a crucial role in enhancing community life․ These opportunities foster a sense of belonging and provide a platform for individuals to make a positive impact․ By giving back, volunteers help create a vibrant and inclusive environment for everyone to enjoy․
Local Partnerships and Collaborations
The Town of Babylon fosters strong local partnerships and collaborations to enhance community programs and events․ By working with businesses, schools, and organizations, the town creates opportunities that align with resident needs and interests․ These partnerships support youth development, cultural enrichment, and environmental initiatives, ensuring a vibrant and connected community․ Collaborations also provide resources, expertise, and funding to deliver high-quality services and activities․ Through teamwork and shared goals, Babylon builds a stronger, more inclusive environment for all residents to thrive and enjoy․