Welcome to the Honeywell TH6320WF2003 installation guide, designed to help you successfully install and configure your Lyric T6 smart thermostat. This manual provides step-by-step instructions, ensuring compatibility with your HVAC system, necessary tools, and wiring requirements for a seamless setup experience.
1;1 Overview of the Honeywell TH6320WF2003 Thermostat
The Honeywell TH6320WF2003 Lyric T6 Pro Smart Thermostat is a cutting-edge, multi-stage thermostat designed for smart home integration. It offers remote control, energy efficiency, and compatibility with various HVAC systems, including heat pumps and dual-fuel setups. With its user-friendly interface and advanced features, it balances comfort and energy savings, making it a versatile solution for modern home climate control needs.
1.2 Importance of Proper Installation
Proper installation ensures the Honeywell TH6320WF2003 thermostat operates safely and efficiently. Incorrect wiring or setup can lead to system malfunctions, energy inefficiency, or even safety hazards. Following the manual’s guidelines guarantees compatibility with your HVAC system, optimal performance, and access to all smart features. Improper installation may void the warranty or cause long-term issues, emphasizing the need for precise setup and professional assistance if needed.
System Compatibility and Requirements
Ensure your HVAC system is compatible with the Honeywell TH6320WF2003 thermostat. Verify wiring requirements and system specifications to guarantee proper functionality and avoid installation issues or inefficiencies.
2.1 Checking HVAC System Compatibility
Verify your HVAC system’s compatibility with the Honeywell TH6320WF2003 thermostat. Ensure it supports your system type, such as heat pumps or gas-fired systems, and check wiring compatibility. Review the thermostat’s specifications to confirm it can handle your system’s stages and configuration. If unsure, consult a professional to avoid installation issues and ensure optimal performance.
2.2 Understanding Wiring Requirements
Understanding the wiring requirements is crucial for a successful installation. Verify the compatibility of your HVAC system’s wiring with the Honeywell TH6320WF2003 thermostat. Identify key wires (R, W, Y, G, C) and ensure they match your system’s configuration. Use the Honeywell Home app’s hidden PRO installation feature to guide wiring connections and confirm proper setup for optimal thermostat performance and functionality.
Pre-Installation Steps
Before installing, gather tools and materials, turn off HVAC power, and verify system compatibility. Assess wiring correctness and prepare the area for thermostat mounting. Ensure safety.
3.1 Gathering Necessary Tools and Materials
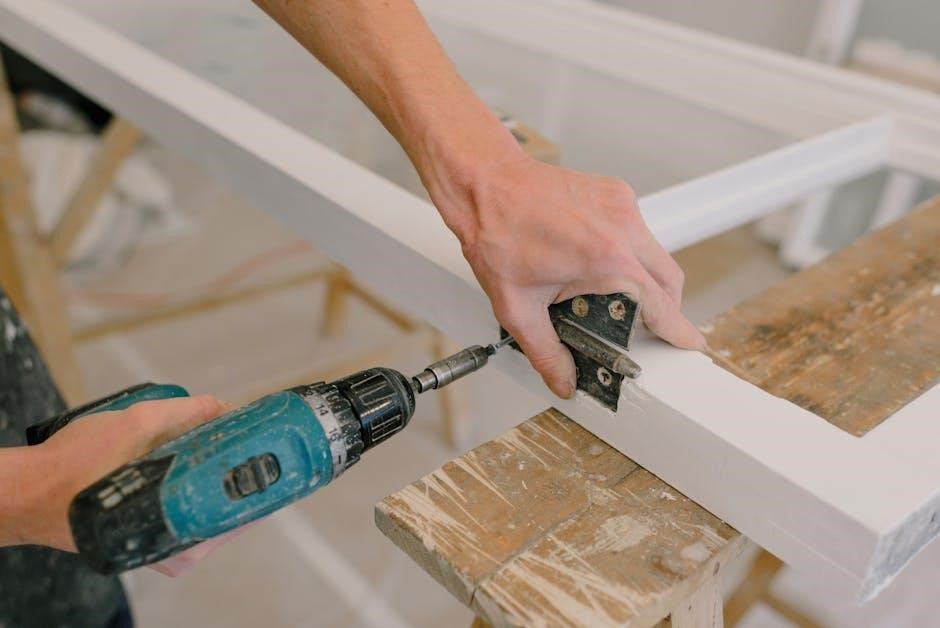
Gather essential tools: screwdrivers (Phillips and flathead), wire strippers, and a drill. Materials needed include wall anchors, screws, and a level. Ensure compatibility with your HVAC system. Verify wiring requirements and thermostat mounting hardware. Double-check the Honeywell Home app installation guide for additional materials; Prepare a safe workspace to avoid damage or injury. Organize tools for efficient installation. Ensure all items are compatible with the TH6320WF2003 model.
3.2 Turning Off Power to the HVAC System
Before starting the installation, switch off the power to your HVAC system at the circuit breaker or fuse box. Verify the system is completely powered down using a voltage tester. Ensure the thermostat and all HVAC components are cool to the touch. This step is critical for safety and prevents electrical hazards during installation. Proceed only when the system is safely deactivated.
Physical Installation of the Thermostat
Mount the thermostat on a flat wall surface, ensuring proper alignment and level placement. Remove the old thermostat and prepare the area for the new installation. Secure the mounting plate firmly to the wall and attach the thermostat base. Connect the wires according to the wiring diagram provided in the manual. Ensure the thermostat is securely fastened to the base for a stable installation.
4.1 Mounting the Thermostat on the Wall
Begin by removing the existing thermostat and preparing the wall for installation. Use the provided mounting plate to ensure proper alignment and level placement. Attach the plate securely with screws, making sure it is firmly fastened to the wall. Align the thermostat base with the mounting plate and snap it into place. Ensure the device is level and properly seated for accurate temperature readings and smooth operation.
4.2 Connecting the Wires Properly
Ensure the HVAC system power is off before connecting wires. Match each wire to the corresponding terminal on the thermostat, referring to the wiring diagram in the manual. Securely attach the wires to prevent loose connections. Use the provided wire labels to organize and simplify the process; Double-check all connections for accuracy and tightness to ensure proper functionality and safety. Turn the power back on after completion.
Configuring the Thermostat Settings
Begin by setting the date, time, and temperature preferences. Choose between heating, cooling, or auto mode. Adjust fan settings for continuous or intermittent operation. Use the Honeywell Home app to enable geofencing and create custom schedules. For dual fuel systems, ensure the balance point is set according to the manual. Enable remote access for seamless control via the app. Refer to the manual or online guides for additional support.
5.1 Setting Up the Initial Configuration
After installation, power on the thermostat and follow on-screen prompts. Set the date, time, and temperature units (Fahrenheit or Celsius). Choose your HVAC system type and configure basic settings like heat/cool thresholds. Use the Honeywell Home app to complete initial setup, ensuring a stable internet connection. Refer to the manual for specific instructions tailored to your system type and preferences.
5.2 Programming the Thermostat for Optimal Performance
Create a custom schedule by setting temperature preferences for different times of the day. Adjust heat and cool settings to match your daily routine, ensuring energy efficiency. Use the Honeywell Home app to program schedules remotely and enable features like geofencing and smart alerts. Fine-tune settings to balance comfort and energy savings, optimizing performance for your specific needs and preferences.
Wi-Fi Setup and Smart Features
Connect your Honeywell TH6320WF2003 to Wi-Fi by selecting your network and entering the password in the thermostat settings. Download the Honeywell Home app to enable remote control, smart scheduling, and advanced features like geofencing for enhanced convenience and energy efficiency.
6;1 Connecting the Thermostat to Wi-Fi
To connect your Honeywell TH6320WF2003 to Wi-Fi, go to the thermostat settings, select your network, and enter the password. Ensure your router is nearby for a strong signal. If prompted, download any firmware updates. For troubleshooting, restart your router or check network compatibility. Once connected, use the Honeywell Home app for remote control and smart features.
6.2 Downloading and Using the Honeywell Home App
Download the Honeywell Home app from the App Store or Google Play. Once installed, create an account or log in if you already have one. Use the app to configure your thermostat, schedule settings, and monitor energy usage. The app also enables remote control, geofencing, and smart home integration. For advanced setup, the app offers a hidden PRO installation feature to assist with configuration and troubleshooting.
Scheduling and Remote Access
Learn how to create custom schedules and access your thermostat remotely through the Honeywell Home app. This section covers setting up geofencing and energy-saving modes for optimal convenience and efficiency.
7.1 Creating a Custom Schedule
Setting up a custom schedule on your Honeywell TH6320WF2003 allows you to tailor temperature settings to your daily routine. Use the Honeywell Home app to create a 7-day schedule, adjusting heat and cool settings for different times of the day. Program wake, leave, return, and sleep periods to optimize energy use and maintain comfort. Save your preferences to ensure consistent operation and energy efficiency.
7.2 Managing the Thermostat Remotely
With the Honeywell Home app, you can manage your TH6320WF2003 thermostat remotely, adjusting temperatures, viewing current settings, and modifying schedules from any location. The app allows real-time monitoring and control, ensuring your home remains comfortable whether you’re away or cozy indoors. Use geofencing or smart alerts to optimize energy savings and maintain seamless climate control effortlessly.

Troubleshooting Common Issues
Identify and resolve issues like connectivity problems, wiring mismatches, or inconsistent heating/cooling performance. Refer to specific troubleshooting guides for detailed solutions to ensure optimal thermostat functionality.
8.1 Resolving Connectivity Problems
Ensure your Honeywell TH6320WF2003 thermostat is connected to Wi-Fi. Check your router’s signal strength and verify network settings. Restart both the thermostat and router if issues persist. Use the Honeywell Home app to diagnose connectivity problems or reset network settings through the thermostat’s menu. Ensure firmware is updated for stable performance.
8.2 Addressing Heating or Cooling Inconsistencies
If your Honeywell TH6320WF2003 thermostat is not maintaining consistent temperatures, check the system settings and ensure proper calibration. Verify that the temperature sensor is accurate and free from drafts or direct sunlight. Inspect air vents for blockages and ensure the HVAC system’s air filters are clean. Recalibrate the thermostat if necessary, and confirm wiring connections are secure. Consult a professional if issues persist.
Maintenance and Upkeep
Regularly inspect wiring, ensure sensors are clean, and verify proper airflow to maintain your Honeywell TH6320WF2003 thermostat’s efficiency and functionality over time.
9.1 Cleaning the Thermostat
Regularly clean the Honeywell TH6320WF2003 thermostat to ensure optimal performance. Use a soft, dry cloth to wipe the display and exterior. Avoid harsh chemicals or liquids, as they may damage the device. Gently remove dust from vents or sensors to maintain accurate temperature readings. Cleaning helps prevent malfunctions and ensures consistent heating and cooling efficiency throughout the year.
9.2 Updating the Thermostat Software
To ensure optimal performance, regularly update your Honeywell TH6320WF2003 thermostat software. Use the Honeywell Home app to check for updates. Access the menu, select “Settings,” then “Software Update.” Follow prompts to download and install the latest version. The thermostat will restart during the update. Keep your device connected to Wi-Fi to maintain the latest features and security enhancements, ensuring seamless functionality and compatibility with your HVAC system.
Thank you for following the Honeywell TH6320WF2003 installation manual. For further assistance, visit Honeywell’s official website or download the Honeywell Home app for additional support resources;
10.1 Final Checks for Proper Installation
After installation, perform a final check by cycling power to the HVAC system. Verify all wire connections are secure and test heating, cooling, and fan modes. Ensure the thermostat responds to manual adjustments and app commands. Confirm remote access functionality and temperature accuracy. Review the setup to ensure it aligns with your home’s specific needs for optimal performance.
10.2 Where to Find Additional Support and Manuals
For further assistance, visit the official Honeywell website to access detailed manuals, troubleshooting guides, and FAQs. The Honeywell Home app also offers in-app support features. Additionally, contact Honeywell customer support directly for personalized help. Community forums and authorized distributors provide extra resources for resolving complex issues or understanding advanced functionality.